9.4 Bad Password API
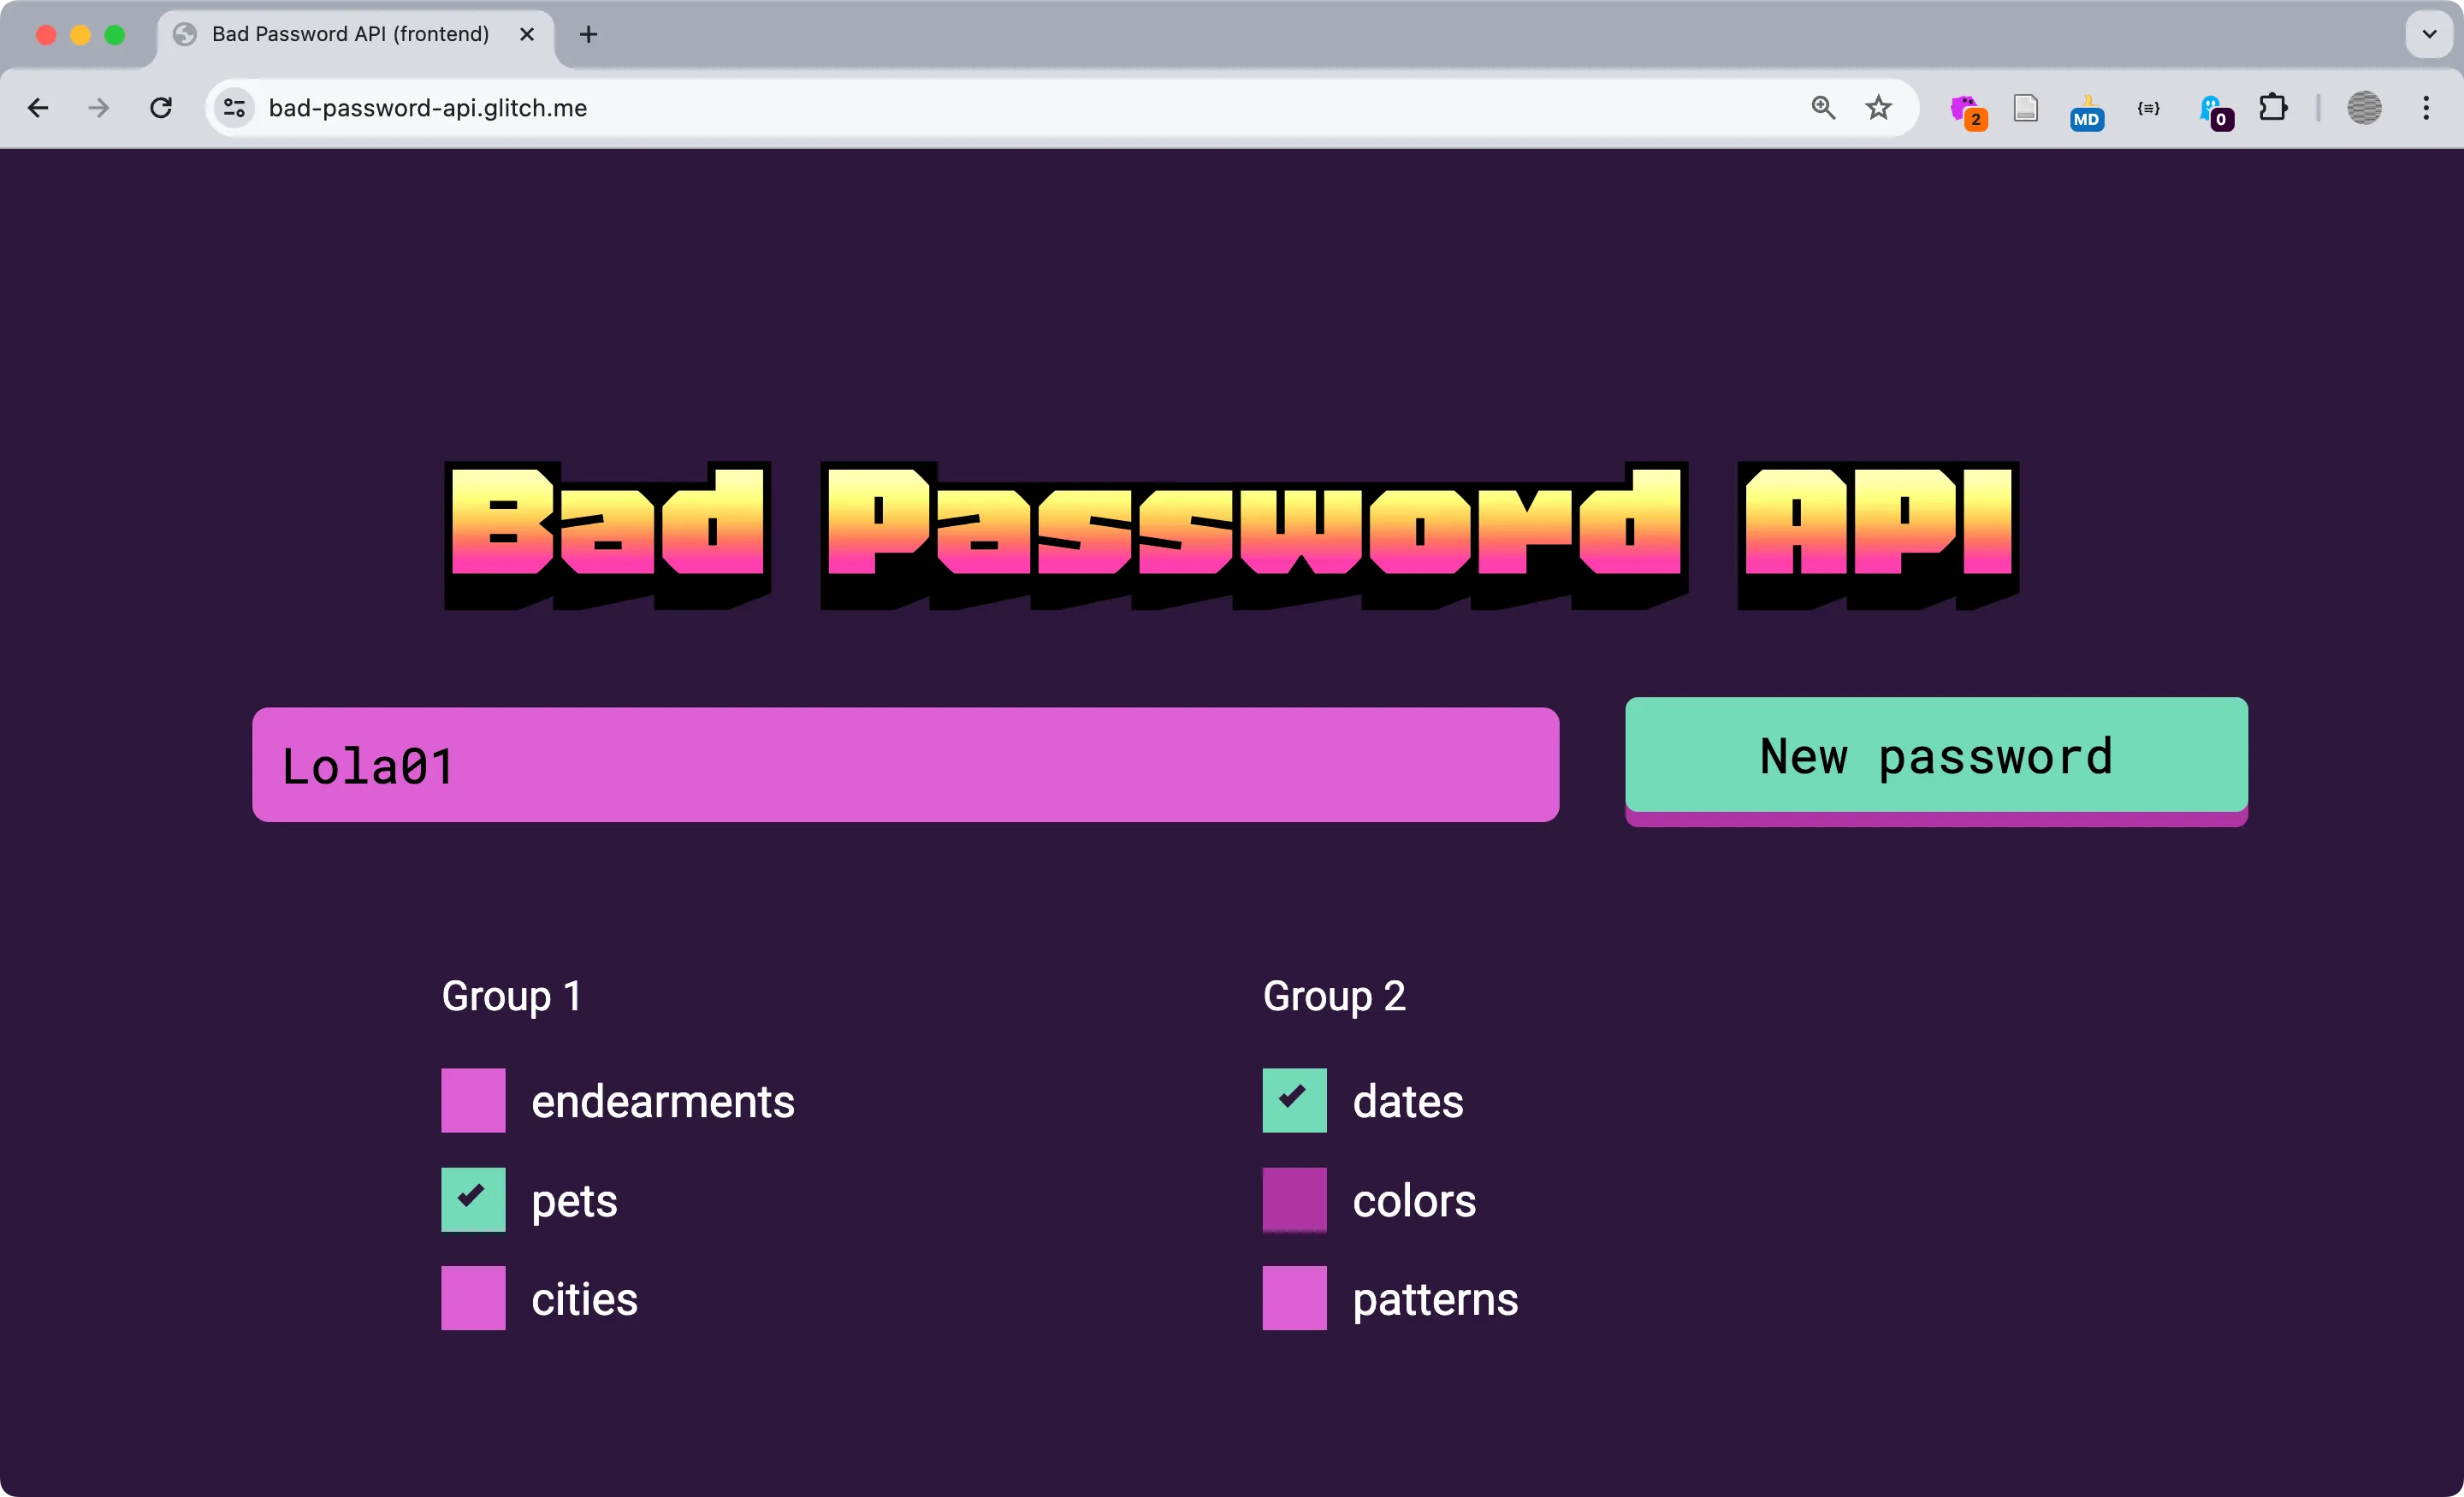 After completing the modules in Chapter 9 you will connect the Bad Password API front end to our back-end API. See it live here https://criticalwebdesign.github.io/#9-3
Static and Dynamic Web Pages
Section titled “Static and Dynamic Web Pages”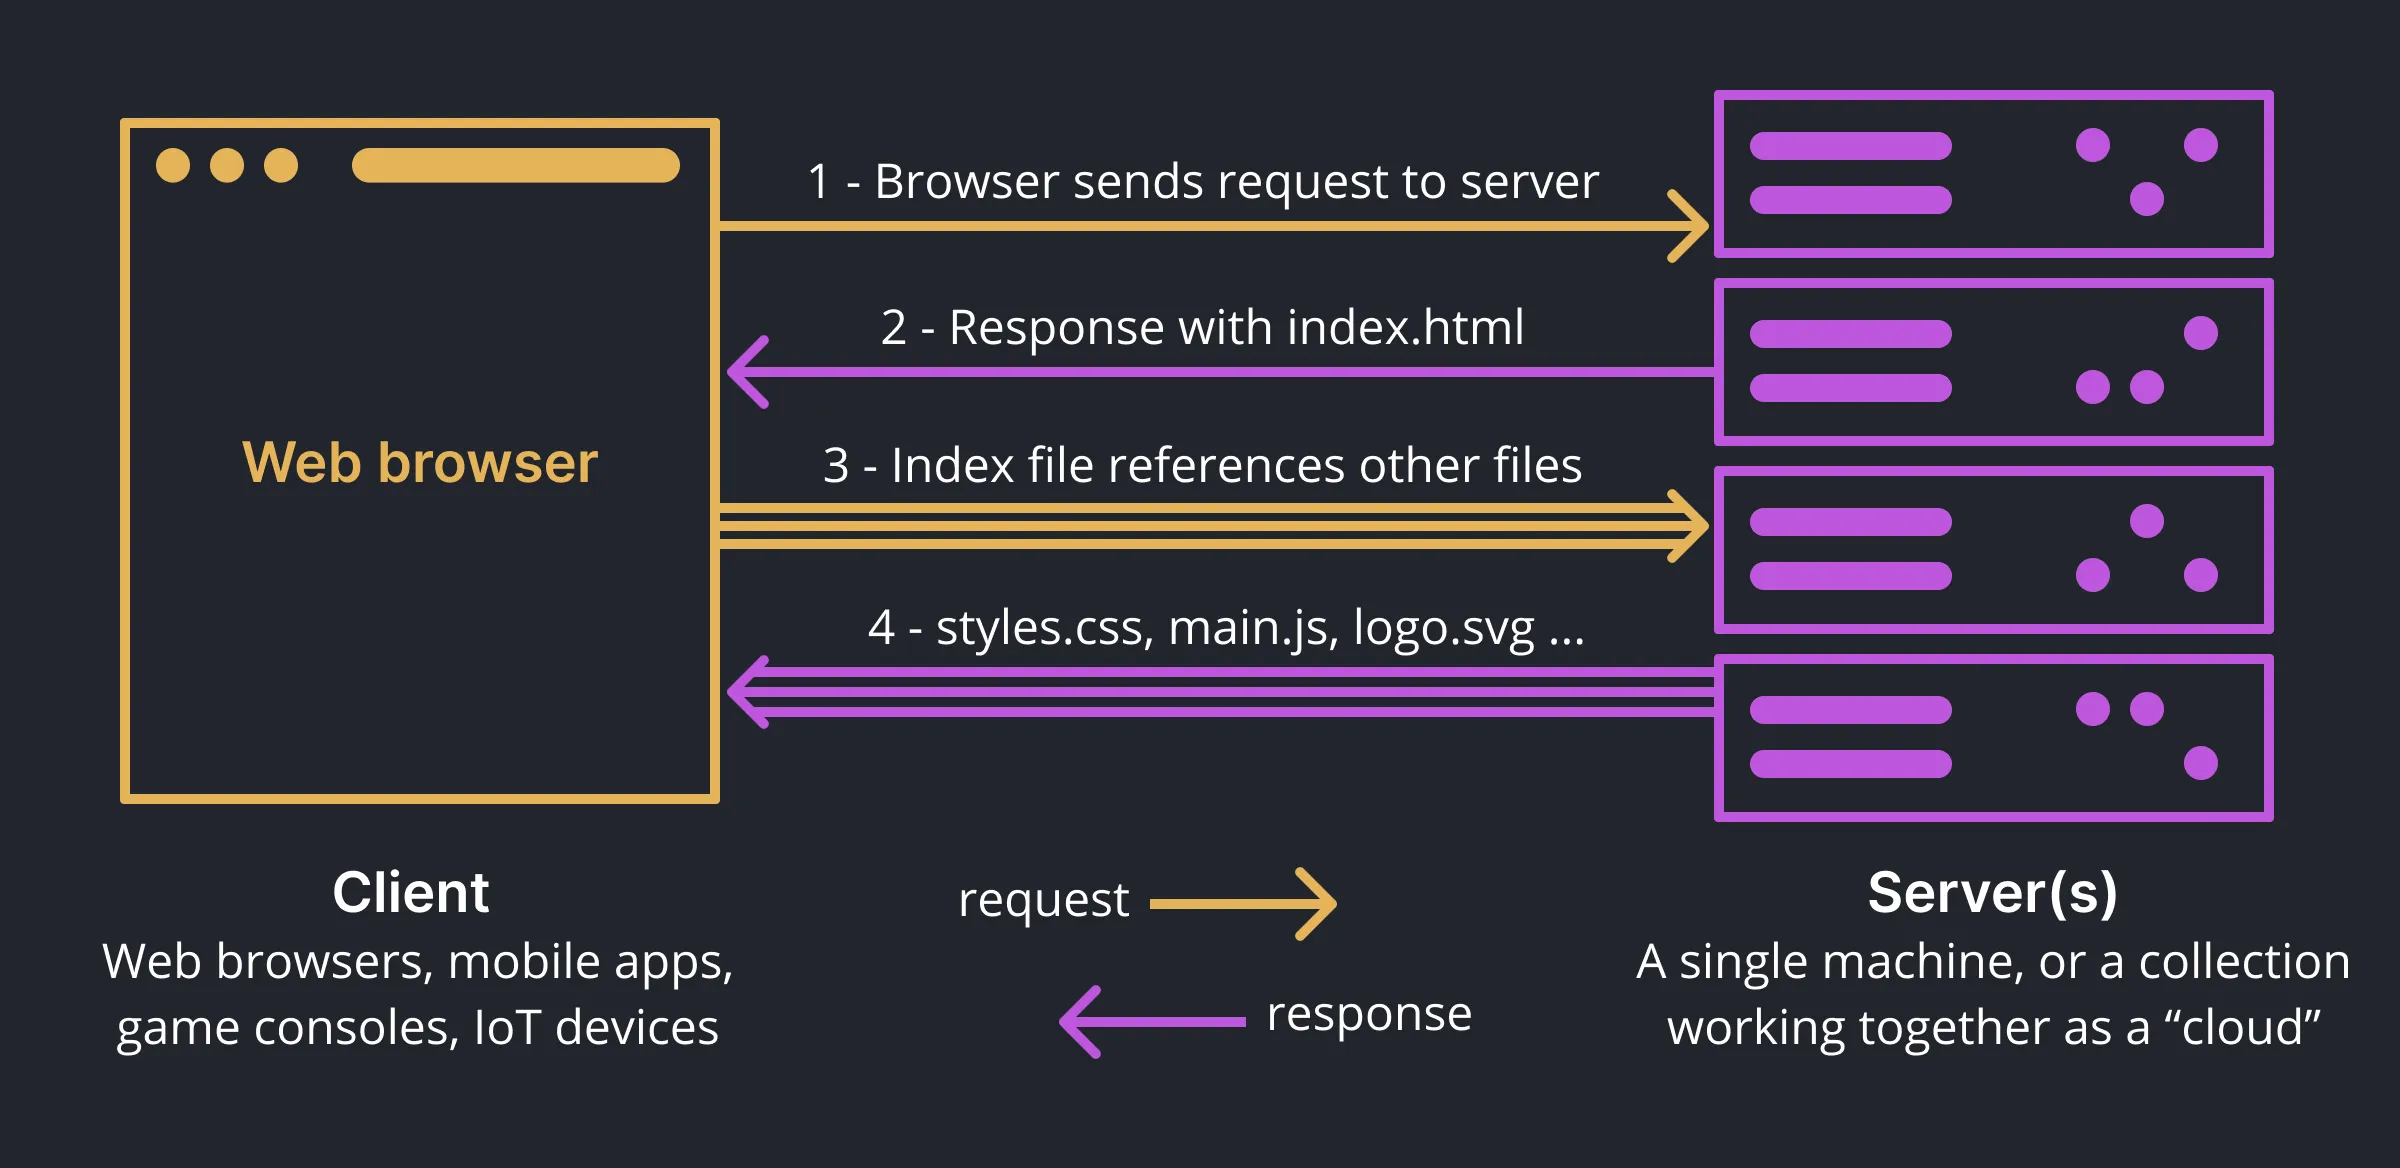 Each web page you visit involves many requests and responses between client (your browser) and server(s) when a page loads.
 The difference between a static website and a full-stack application.
Full Stack API
Section titled “Full Stack API”Project Setup
Section titled “Project Setup”- Using Codespaces (or VS Code if you are developing locally) open the
bad-password-api-starterproject repository that you edited in Chapter 9. - We modified the project structure to make it easier to publish the front-end version on Github Pages. However, it’s more convenient when the front end and back-end code is organized into separate folders. Move
index.htmland theassetsfolder into thepublicfolder. Your structure should look like this…
- package.json Meta information and project dependencies
Directoryapi All server files live here
- data.js Words and phrases to make bad passwords
- index.js Run the server using routes.js and data.js
- routes.js Contains the endpoints that return data
Directorypublic Static files go here
Directoryassets
Directorycss/
- …
Directoryimg/
- …
Directoryjs/
- …
- index.html The front end, uses client side JS to make requests to the server.
This project has two parts. The back-end scripts inside api/ that run on the server and respond to requests for data from the front-end files index.html etc. in the browser.
- Open
api/index.js. This is the main back-end entry point. When you run this file with Node.js it uses Javascript to start a server with Express.js, which it imports on line 8. - Open
package.jsonand verify thatmainpoints toapi/index.js. Note also thatexpressis one of the dependencies. While these packages are referenced here, they haven’t been installed yet. When you run the below command in the Terminal NPM will download and install the packages into a specially-named folder callednode_modules.
npm install- Since you installed nodemon in 9.3 Using Node.js you can start the server by running any of these:
nodemon,nodemon api/index.js, ornpm run dev. A message will appear in the terminal telling you that…
Your app is listening at: http://localhost:3000- Go to this URL to see the website. Notice we didn’t need to install a Live Server extension because we are providing our own “localhost”, even though it is currently only serving static files like
index.html.
Add a Static API Route
Section titled “Add a Static API Route”Most of what you see inside api/index.js is boilerplate code, but we added comments to explain what is happening. It simply starts a server and imports other files that create the response. In this section you’ll add new endpoints to the API.
- In
api/index.js, notice that line 21 importsroutes.js. This file defines Express routes, or the endpoints for your server. A route can be any path on your website. They can be static files likeindex.htmlor dynamic, responding to parameters users define in the URL. Here is an example dynamic route, Change the value assigned toqtodogto see how it changes all the content of the page.
https://www.google.com/search?q=cat- Open
api/routes.jsand notice that we import express and create a “router”. Express makes Node run continuously on a server, listening for requests. Then we importdataandfunctionsfromdata.js, which we’ll discuss later.
// import express, create routerimport express from 'express';const router = express.Router();// import data for the APIimport { data, functions } from "./data.js";// console.log(data.pets);
// 👉 code (from Chapter 9 wiki) ...- Create a new static route for the API by adding the following code after our
👉prompt. This uses the express router to add a new endpoint calledapi/. The callback function uses theresparameter to send a simple response, the text “Hello, World!” back to the browser. Save your file and refresh your URL (http://localhost:3000/api). If your project is still running (usingnodemonfrom the previous section above) you should see the text.
// 👉 add routes here (from Chapter 9 wiki) ...router.get("/api", async function (req, res) { res.send("Hello, World!");});- “But an API is supposed to return JSON!?” — Not so! An API can return anything you like. JSON is definitely the most common though. Update your response to include curly braces and a
messageproperty inside the object, like so:
res.send({ message: "Hello, World!" });- Save
routes.jsand refresh your endpoint and you should now see a JSON object returned. Great! This is default endpoint for your API.
{ "message": "Hello, World!"}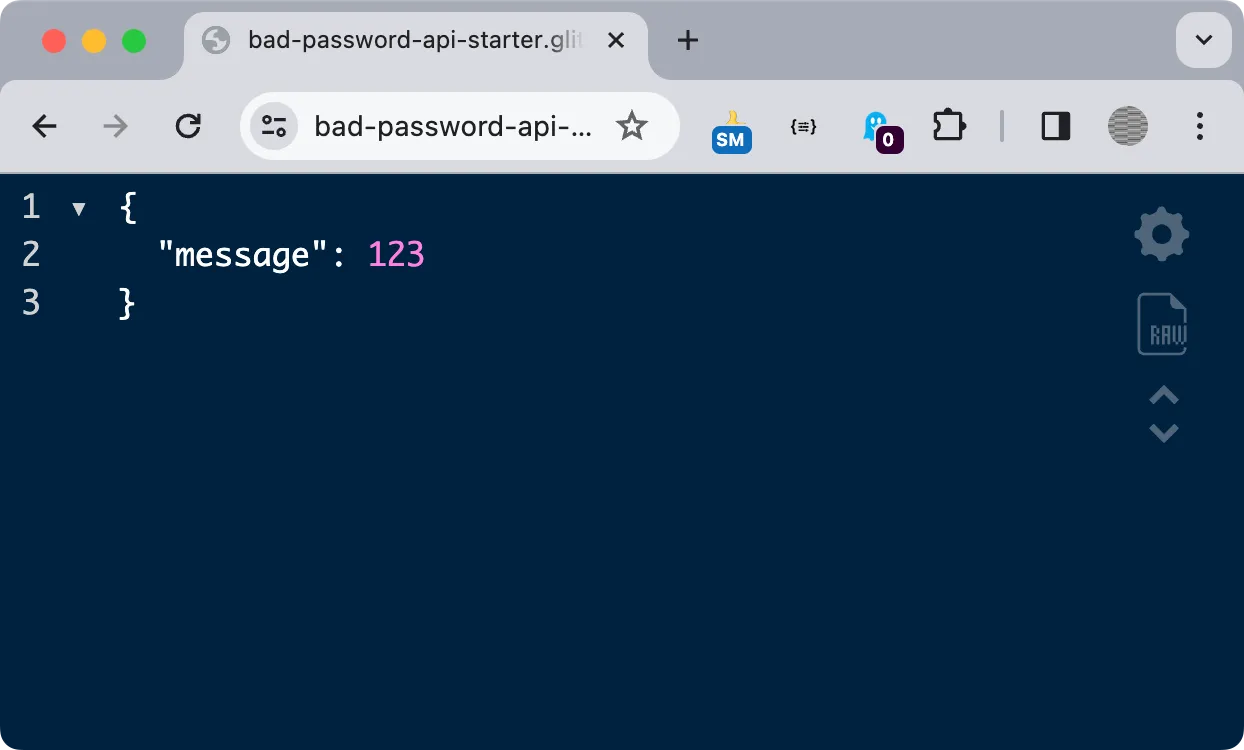 You can also send non-string values inside JSON data returned from the API.
Add Dynamic API Routes
Section titled “Add Dynamic API Routes”Now that you are getting data from an API into the web page, add new endpoints to return a common or custom password.
- In
routes.jsyou’ll notice we are importingdataandfunctionsfrom a file calleddata.js. Indata.jsyou’ll see it contains lists of potential words to use in new custom passwords. The property namedcommonis a list of the most common passwords that have been hacked. Add this new endpoint under the previous route to return a random password from the common list.
router.get("/api/common", async function (req, res) { res.send({ message: randomFromArray(data.common) });});- Test this endpoint by viewing your project URL +
/api/common. Refreshing the page returns a new, terrible password.
{ "message": "12345"}- In
data.jsyou saw other collections of popular terms used in easy-to-hack passwords. Let’s add a dynamic endpoint that uses them. Add the following code beneath the other endpoints insideroutes.js. This will use thereturnPassword()function to check the parameters and return appropriate random phrases from the hacked passwords list.
router.get("/api/custom", async function (req, res) { console.log(`params = ${req.query.params}`); res.send({ message: returnPassword(req.query.params) });});- Visit your new endpoint
/api/custom?params=pets,datesand play with other parametersendearments, pets, cities, dates, colors, patternsto see the new passwords.
{ "message": "Duke97"}- With the API routes working you can change your project front end to use them instead. Open
public/assets/js/main.jsand updateurlto pull from your functional API:
// 👉 update url to pull from your own database (Chapter 9 wiki) ...let url = "/api/custom?params=" + group1.value + "," + group2.value;// 👈Publishing Full Stack Sites
Section titled “Publishing Full Stack Sites”Throughout the book you published your static web pages on Github Pages. All web hosts allow you to share static HTML with the world, but GH Pages lets you do it for free, with relatively simple overhead, and decent control over the subdomain (you can also create a “Github username site”).
However, GH Pages does not allow you to run code in the back end. This means if you want to use a database, return custom response types (like JSON for our API), or do any other scripting on the server, you need to use a real web host. Generally speaking, if you want to keep your costs and technical requirements to a minimum, there are a few different ways to go.
| Feature | Github Pages | Cloud hosting | Shared Hosting | VPS hosting |
|---|---|---|---|---|
| Cost | Free | Free for small projects | ~$10/month^ | ~$20/month |
| Learning curve | Beginner | Beginner | Beginner | Difficult |
| Providers | Github Pages | Vercel, Netlify | Dreamhost† | Hostinger† |
| Static sites | ✅ | ✅ | ✅ | ✅ |
| Backend sites | ❌ | ✅ | ✅ | ✅ |
| Node.js | ❌ | ✅ | ⚠️† | ✅†† |
| Up time | 100% | 100%§ | 100% | 100% |
^Some colleges (like Davidson) provide a “Domains” service for free to students.
†Most shared hosting do not allow access to the shell or running Node.js
††Referral links let us know what services readers are selecting.
‡Since you are installing the software yourself you can run anything you want!
§Most free cloud hosting sites offer 100% uptime.

Publish a Website with Vercel
Section titled “Publish a Website with Vercel”The first step to publish an API on Vercel, since you are defining routes, specific paths, and sending json headers using Express, is to add a new advanced configuration file called vercel.json. Paste the following code into it and save.
{ "version": 2, "rewrites": [ { "source": "/(.*)", "destination": "/api" } ]}Below, we cover two ways to publish your project to Vercel. The first Connect Github to Vercel is recommended for new users. The second tutorial Vercel Command Line Tool is more advanced but gives you finer control over how it is published. You can also use these both at the same time, in case you like to have the preference.
Option 1-Connect Github to Vercel
Section titled “Option 1-Connect Github to Vercel”Connect your Github account and import your repository to Vercel. This is the recommended way to publish if you are using Github Codespaces. It is also demonstrated in the video below.
- Go to Vercel’s “start deploying” page https://vercel.com/new
- Under “Import Git Repository” select “Continue with Github” and login with Github.
- After that, click “Install” to allow Vercel to access your Github information. Select the Github repository you want to publish and click “Install”.
- Now you can import your repository to Vercel. Give it a project name. Leave the framework preset as “other”. Click deploy.
- Visit your dashboard to find (or rename) the url where your site is published.
- Push new changes to your project on Github to automatically update your Vercel deployment.
How To Deploy GitHub Project on Vercel (easy method)
Option 2-Vercel Command Line Tool
Section titled “Option 2-Vercel Command Line Tool”Install the Vercel CLI (command line) tool and run it from VS Code. This alternate method gives you more control for publishing your project.
Connect to Vercel
Section titled “Connect to Vercel”- Quit your app (if still running)
Ctl+c - Create a free “Hobby” account at https://vercel.com/signup and login. We recommend using Github to authenticate.
- Install the Vercel CLI using NPM (recommended)
npm install -g vercel- Confirm installation.
vercel --version- Run the login command. The process will complete in the browser. Return to the console and you should see confirmation.
vercel loginDeploy on Vercel
Section titled “Deploy on Vercel”With your account connected, initiate your first deployment.
- Run the following to configure your deployment
vercel- Follow the prompts (you only have to answer these config questions the first time):
- Set up and deploy
yes - Which scope … ?
choose your default team - Link to existing project?
no (unless you already created one) - What’s your project’s name?
ENTER_A_UNIQUE_NAME - In which directory is your code located?
./ - No framework detected. Default Project Settings … Do you want to modify?
no - Do you want to change additional project settings?
no - Connect repository … ?
no ("yes" requires you commit for each deployment)
- Set up and deploy
- After completing the above, Vercel will upload your files. Each time you run
vercelit creates a private build and displays links to view your site. Like Github, every deployment has a specific identifier and build page.
🔍 Inspect: https://vercel.com/ [...] [1s]✅ Preview: https:// [...] .vercel.app [13s]📝 To deploy to production ([...].vercel.app), run `vercel --prod`- Open the preview link and confirm everything works as expected. Test both the index file and the APIs.
- Finally, make it live using
vercel --prodPrompt 9.4
Section titled “Prompt 9.4”Inside api/data.js you can see how the project uses comma-separated lists of words to create new password combinations. Add new potential parameters for the /api/custom endpoint by incorporating the list you created in Prompt 9.1. Then add new checkboxes to represent the new lists in the interface. Explore the articles linked on the finished project and experiment with new parameters. Or, make a fork of the project and create an entirely new generator API!